Showing posts with label DIY. Show all posts

Wednesday, February 11, 2015

DIY Baby Sensory Squares

Happy 2015! So hard to believe we're already a month and a half in. Brendan is growing like a weed! I remember when everyone told me to enjoy the moments when he was really tiny, before he was mobile, and now I know what they meant. Long gone are the days when I could stick him in his swing and let him hang out and possibly even fall asleep. Nope. Now he's at that age where he's into everything and he's so curious. He's obsessed with the dog and likes to get his hands on anything he sees. And of course, everything goes in the mouth now that he's teething (two little teeth so far!).

He's really into different textures and feeling different things with his hands, so I got the idea to make some sensory items for him to play with. I finally busted out my sewing machine for the first time since he's been born. I found some fabric and a few items in my craft drawer to stuff into them, along with two different types of ribbon. These were super easy and took very little time to do. Plus, they're small enough so that I can take them out with me and give them to him in the shopping cart or stroller. The fabric I had already had square shapes on it, so I cheated a little, but you can make them any size you want. Mine are about 5"x5". I had this cute Richard Scarry fabric, which I'm crazy about since I LOVED his books as a child!

Here's what you need:
- Small items with different textures. I used corks, makeup sponges, cellophane, and cotton pom poms.
- Grosgrain and satin ribbon
- Fabric, cut into squares (I suggest anywhere from 5" to 7" inches all around)
- Sandwich size ziploc bags

Cut out fabric and cut about 8" piece of each ribbon.

Take 2 fabric squares, and place them together, right sides facing each other.


To place the ribbon to make a "loop," fold each piece of ribbon in half and place it upside down, sandwiched between the two pieces of fabric, as seen below. Pin into place. For each square, I used one of each ribbon and put them on random sides.

Place items into ziploc bags (this makes it easier to clean the squares without ruining the items inside). The only one I ended up not doing that to last minute were the pom poms.


Sew around each square, leaving about a 2" opening on the bottom. Turn inside out (which will make it right side up).


Go back and sew the seam shut, and that's it!


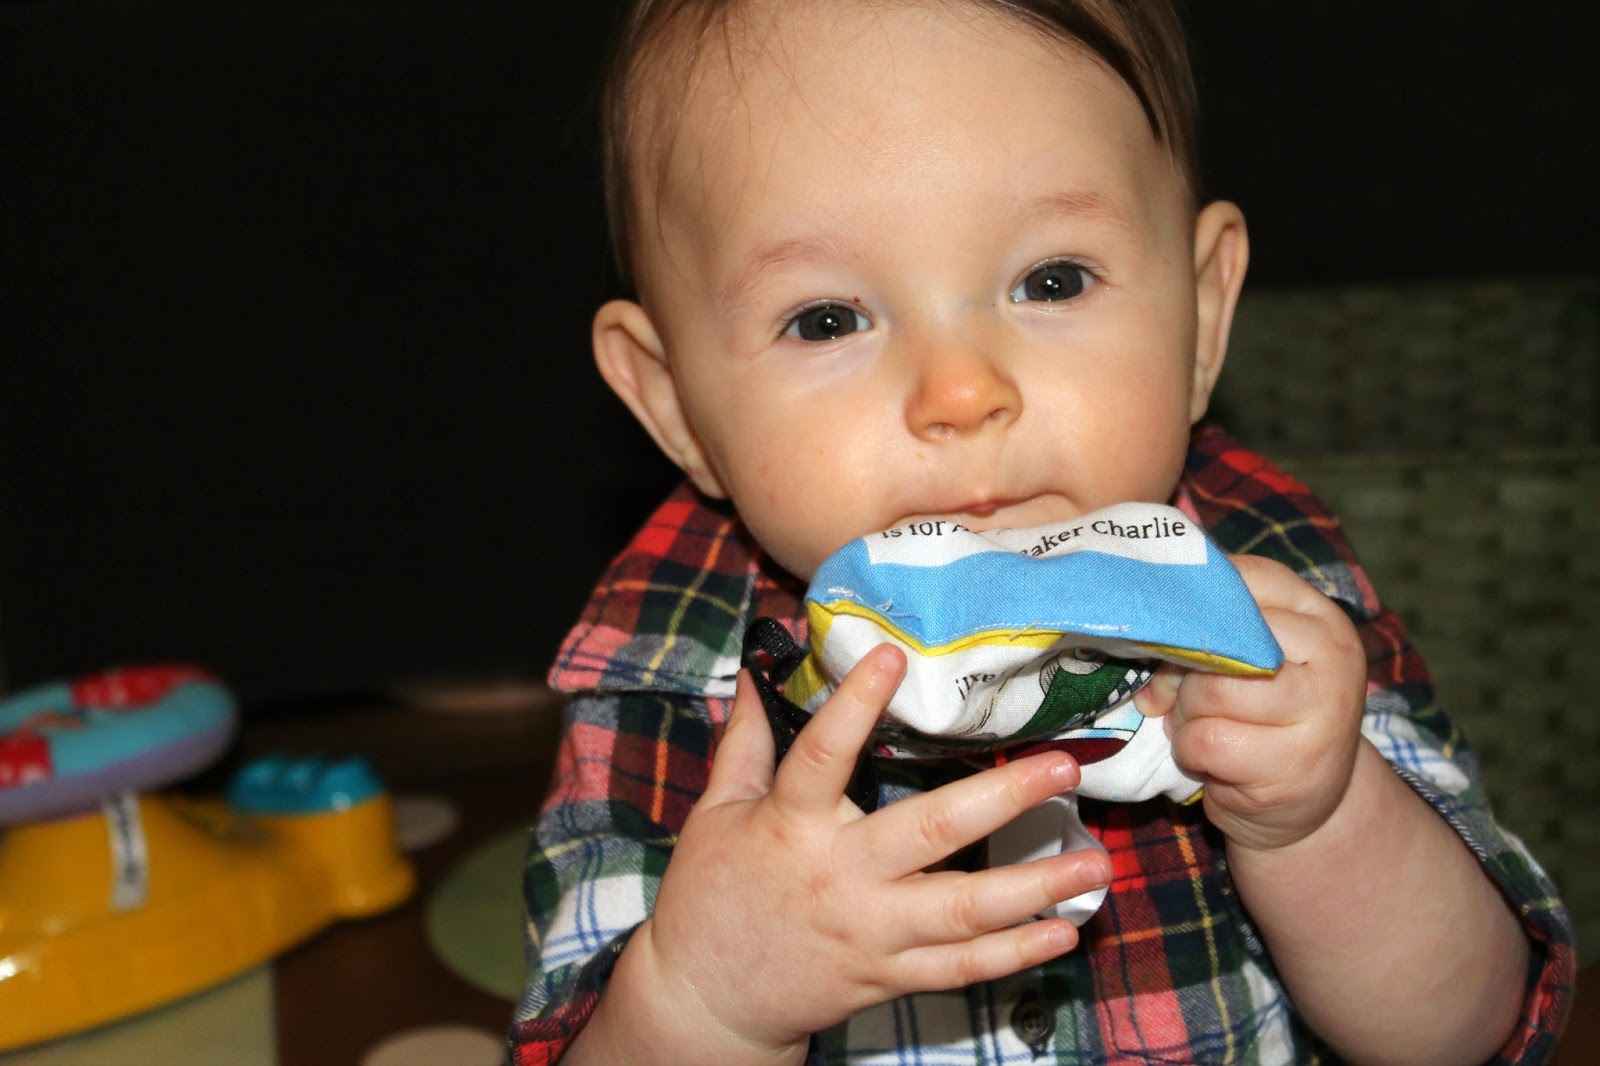
Baby approved!

I guess they're tasty too :)


Thursday, June 5, 2014

Baby G's Construction Themed Nursery

I'm due 2 weeks from today!! Time has flown by like crazy. Being the planner that I am, I wanted to make sure that everything was done and ready to go so that we won't have anything left to do once this little guy arrives. Hospital bag is packed, all the baby laundry is done, car seat installed, and nursery is set up. With Mike being a general contractor, we decided to go with a "construction" theme so the baby can be just like daddy :) We didn't want to overdo it or make it too cartoon-like. I wanted the room to reflect a little boy, not really a baby boy, so that he can grow into it. My mom (who is obsessed with Pottery Barn), suggested the Madras Nursery Bedding, so that we can switch out the decor down the road if we decide to. It's still loaded with bright colors, so it goes with anything. Though the pictures don't show it too well, the walls are a very subtle light blue called "Icicle."


That glider was given to us from our friends Sara & Derek. She used it for her 2 kids and they were sweet enough to pass it down to Baby G now that she's done using it. It's really comfy and goes beautifully with the room!


The diaper decoration was from my baby shower.

How cute is this?? I had been looking for something to fill that lamp, and my sister and I came across a construction Lego set at Target.


Found a 3-piece set of these Melissa & Doug wooden vintage toys at HomeGoods for $7!

Found these prints on Etsy and thought they were too cute to pass up.

We actually got this print at an art fest in Atlanta. I love the vintage look of it!

I painted this canvas for him. The lyrics are part of the Dave Matthews song, "Grey Street."


I'm SO excited for Mike to read this book to the baby. It's adorable :)

The bottom shelf has my baby book, Mike's baby book, and Baby G's baby book.

I call this his "nostalgia" shelf. All old-school toys. The Jack in the Box and Barrel of Monkeys were gag gifts from our wedding that I hung on to, the Beanie Baby belonged to his grandma Sharon's (Mike's stepmom) mother, the "Happy Apple" was mine as a baby, and the teddy bear was also mine that my dad gave me as a baby. The wooden truck is part of the vintage Melissa & Doug set. 

My friend Kristin put my gift in this adorable canvas tote for my shower. Perfect for blanket storage next to the glider!

I think this is my favorite thing in his room. I saw the idea on Pinterest and Mike insisted on making it for the room. He put together and painted that peg board and I absolutely LOVE it!! The tools are actually plastic kids toys from Target, and I love the diapers in the basket.


Another Etsy purchase. I couldn't resist!! 


Not that polar bears have anything to do with construction, but this is another hand me down. My aunt made this for me and it was in my room as a baby. My mom saved it all these years, so now Baby G gets it. 

So there you have it! Now all we need is a baby to put in there :) Any day now...

Monday, July 1, 2013

Fun With Neon! Throw Pillow Makeover


First off, remember these crazy mutts? Finn left on Friday night and Penny slept ALL weekend. Seriously, this dog was in total zombie mode. How cute are they, though??


I made those bandanas for them last week. They were pretty easy to make and I like how they slip over the collar instead of tying around the neck. I'm making Penny another one this week, so I'll post pics of how I did that in a few days.

Sorry for the no-so-awesome quality pics. Those were from my phone. They were just too cute not to share :)

Anyway...I wanted to share my new neon-trimmed throw pillows. I really wanted new throw pillows for our sleeper sofa in the guest room. The old ones I had in there were from Pier 1, and I've had them since the days of yore.


Boring.

Since I started working with Fabric.com a few months ago, I've come across so many fabrics that I fall in love with. We're allowed to take the sample fabrics home, which is coming in handy now that I have my sewing machine. Now, I have a confession to make. I love neon. My inner 80s child just can't get enough of it. Hardly a day went by in the 80s where I didn't leave my house looking like a box of highlighters. Those days are over however, I love using bright neon colors as an accent color - especially next to dark colors. I was playing around with some of my fabrics this weekend, and came across a combo that I fell in love with - dark grey and neon green. Who knew?!
I started toying around with a few pattern combos. Being new to this whole sewing thing, I made it more complicated than it should have been. I finally came up with a pattern that I liked, that was surprisingly easy to do. 

Step 1: Cut fabric to size. To make 2 throw pillows, you'll need to cut out 4 squares and 4 side strips. I made the main squares 16" x 16" each, and made each neon strip 4.5" x 16". 


Start by sewing one strip to one side of a square. Remember to sew the wrong sides together so you can eventually turn it inside out. I used a straight seam and a 3/8" inseam.


Step 2: Do the same thing on the opposite side of the square. You'll end up with this:


Step 3: Iron the seams down to flatten them out. This will help the pillow lay better and will help you sew through them easier.


Step 4: Sew the other square to the opposite side of one of the neon strips (it doesn't matter which one).


Step 5: Fold it over (with the wrong sides still facing out), and sew the last non-sewn neon end to the other non-sewn end of the square fabric. They should be all connected and look like this:


Don't forget to iron down the 2 new seams.

Step 6: Line up the seams of each so that they are even, and sew entirely down one side. Do the same on the other, but leave a 4-5 inch opening on that one.


Step 7: Stuff away! I took the stuffing out of the old pillows and used that. These pillows were also slightly larger than the old ones, so I took a spare flat pillow that we had in the linen closet, and used some of the stuffing from that to finish them off. Either hand sew, or carefully use your machine to close up the seam.


The end result. I love them! I never would have thought to mix those colors, but I love them. The neon adds the perfect pop of color.


She sees a camera and immediately has to jump in. God forbid I don't include her.


What do you think? Not gonna lie, I totally wanna decorate the room with neon now. Though I'm sure that Mike would veto that in about 2 seconds flat... 

In case you're wondering (and are as smitten as I am with them). Here are the fabrics that I used:


Thursday, March 14, 2013

Doggie Window Seat

Remember a few months ago when I mentioned in this post that I needed a raised dog bed for Penny since she likes to sit by the window? I finally made one! I didn't really have anything specific in my mind - I just wanted to find something practical that she could sit in and stare out the window in. I was walking around Goodwill, when I came across this bathroom medicine cabinet. The creative juices started flowing and after measuring it, realized it would work out just fine.

What I liked about it, is that it can double as storage too. I took out the shelves and gave the whole thing a good cleaning.


I put a piece of cardboard over the mirror, along with some painter's tape. Then I took it outside and gave the whole thing a good spray with black spray paint, inside and out, using Krylon Dual Paint + Primer in black. 


After it was completely dry (I let it sit for a day to be on the safe side), I removed the tape and cardboard and put 2 thick strips of velcro tape down, so that the bed can be removable, but also hold down while Penny's sitting in it.


I found the bed at TJ Maxx. What's cool about the Mooii brand beds, is that a portion of the proceeds go to the Humane Society. 


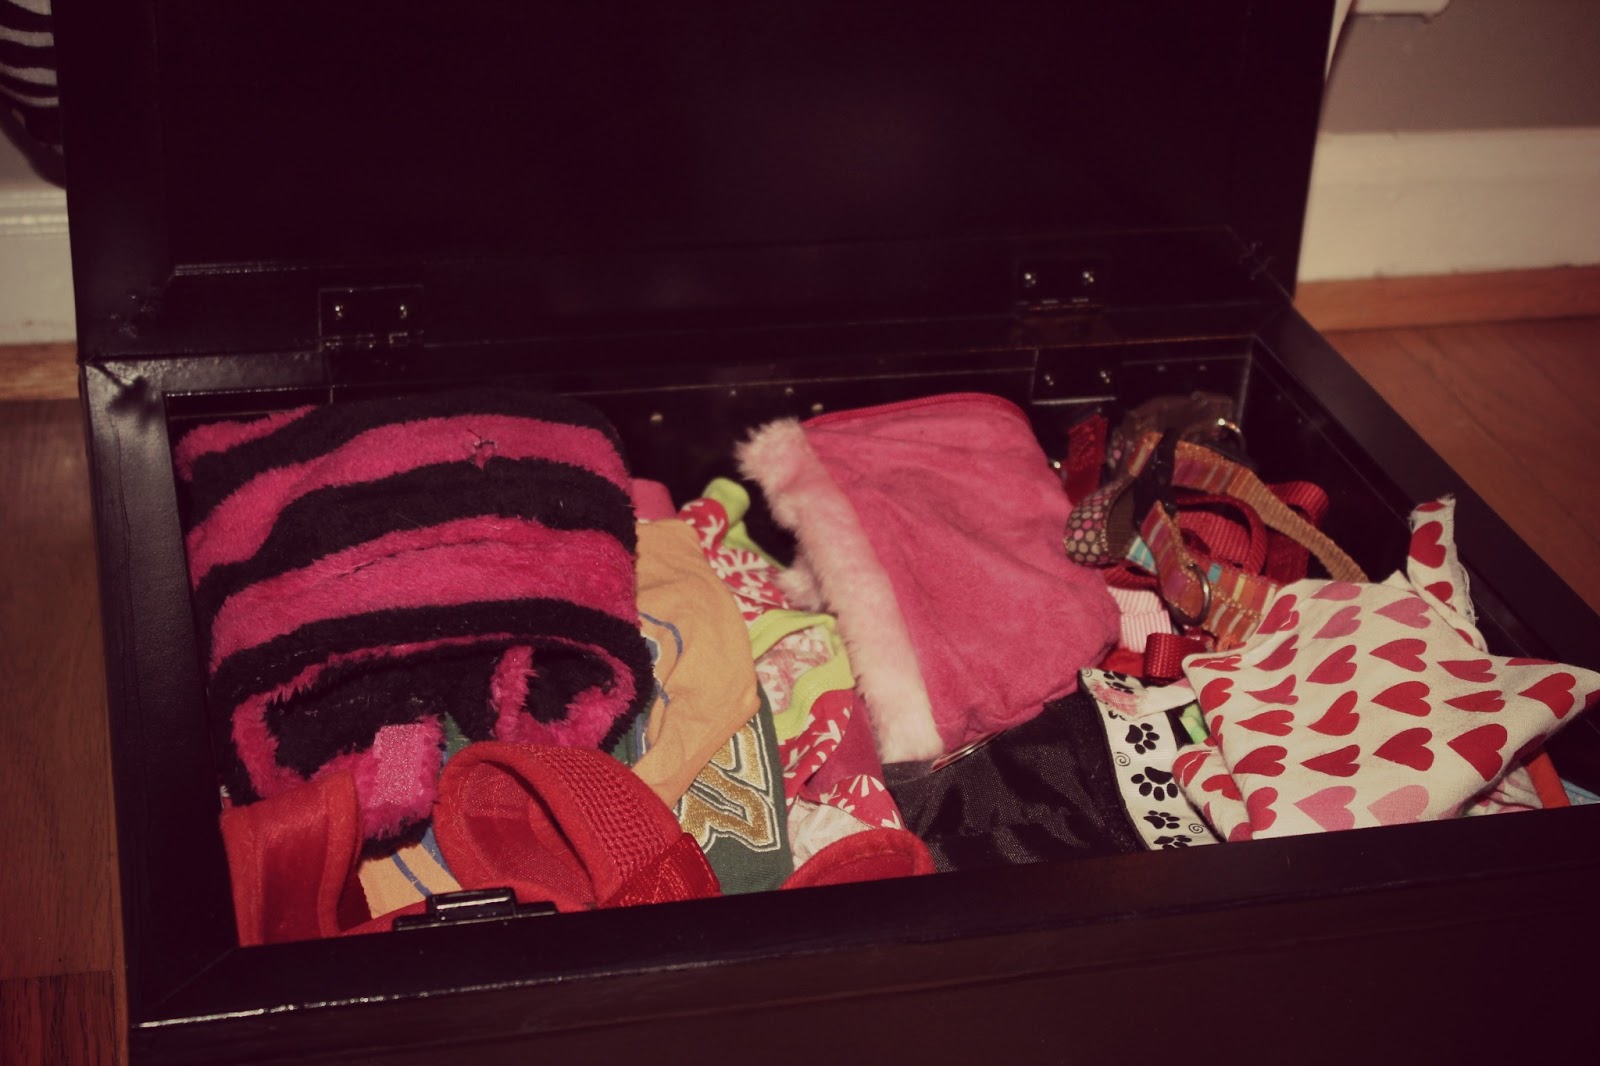
As for the storage element of it, it was the perfect spot to keep all her doggie shirts, bandanas, harnesses and collars.


The whole thing cost me less than $20 to do! I'm pretty psyched about the way it came out. Let's hope Penny is too...