He's really into different textures and feeling different things with his hands, so I got the idea to make some sensory items for him to play with. I finally busted out my sewing machine for the first time since he's been born. I found some fabric and a few items in my craft drawer to stuff into them, along with two different types of ribbon. These were super easy and took very little time to do. Plus, they're small enough so that I can take them out with me and give them to him in the shopping cart or stroller. The fabric I had already had square shapes on it, so I cheated a little, but you can make them any size you want. Mine are about 5"x5". I had this cute Richard Scarry fabric, which I'm crazy about since I LOVED his books as a child!
Here's what you need:
- Small items with different textures. I used corks, makeup sponges, cellophane, and cotton pom poms.
- Grosgrain and satin ribbon
- Fabric, cut into squares (I suggest anywhere from 5" to 7" inches all around)
- Sandwich size ziploc bags
Cut out fabric and cut about 8" piece of each ribbon.
Take 2 fabric squares, and place them together, right sides facing each other.

To place the ribbon to make a "loop," fold each piece of ribbon in half and place it upside down, sandwiched between the two pieces of fabric, as seen below. Pin into place. For each square, I used one of each ribbon and put them on random sides.

Place items into ziploc bags (this makes it easier to clean the squares without ruining the items inside). The only one I ended up not doing that to last minute were the pom poms.

Sew around each square, leaving about a 2" opening on the bottom. Turn inside out (which will make it right side up).

Go back and sew the seam shut, and that's it!


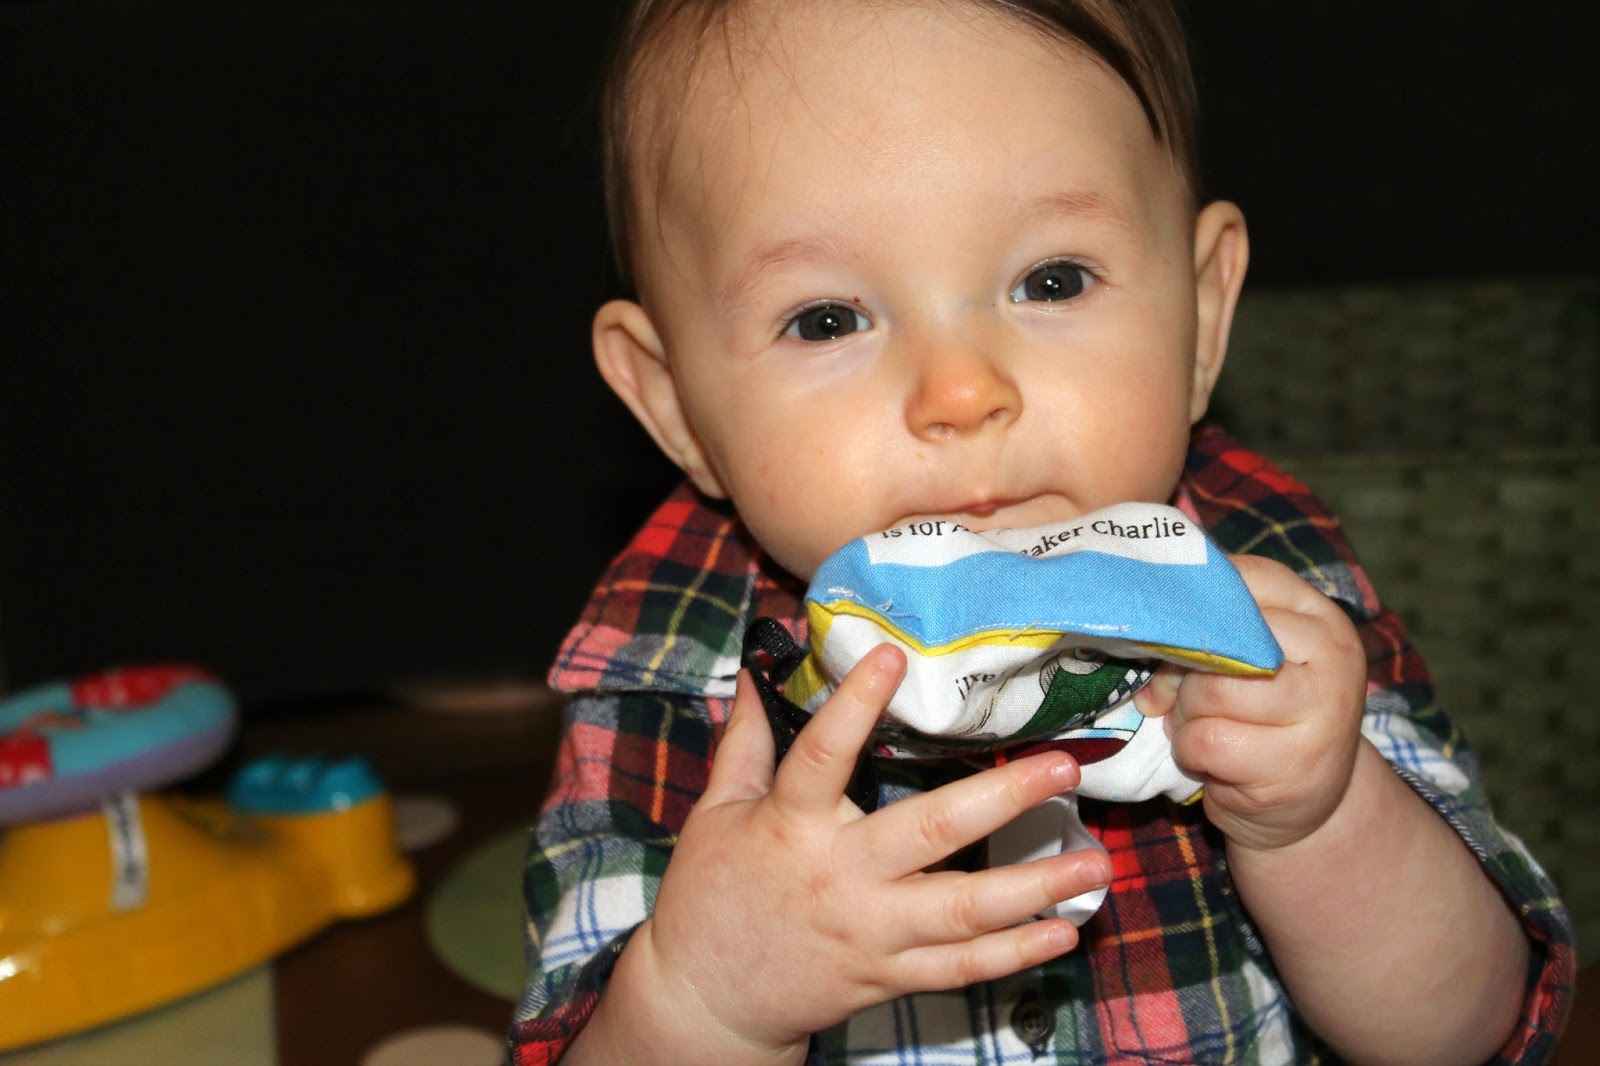
Baby approved!

I guess they're tasty too :)